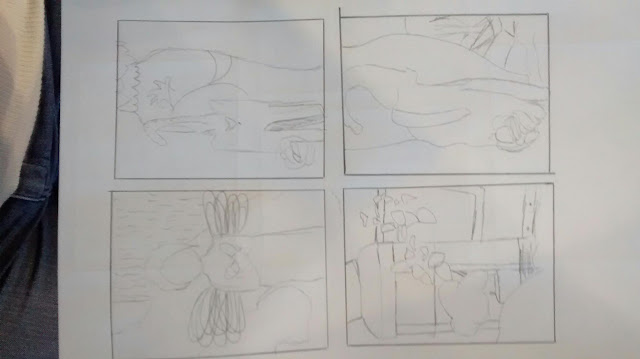
Here are 8 small basic sketches of our still life setup in an attempt to figure out which once I will enlarge and draw in detail for the final.
Thursday, February 18, 2016
Fabric Drawing
1. I feel like my piece shows a variety of values with bright highlights and using the paper's color as my darkest dark. The middle section could use more variety in it's range if values, but the two end folds, I believe, show 9 values.
2. Practicing drawing the fabric several times before using several different materials and colored backgrounds allowed for me to study the fabrics texture carefully and figure out how I had to go about capturing it's shadows and highlights. I specifically liked using the white charcoal pencil which is why I used it for my final.
3. For transitions from light to dark, I had to press extremely hard to show a bright highlight and slowly release pressure as I created shadows throughout the folds. I then used my finger to blend the charcoal to give the piece a smoother and softer look.
4. My interpretation of texture is what allows me to capture it in my owl style. Because I wanted less sketchy lines and smooth transitions I worked to create a soft piece by blending and fading my transitions.
6. If I could recreate this piece I would work to add more detail to the middle section and make sure to add more of my 9 values to that particular section aswell.
Tuesday, February 2, 2016
Shading: Ribon
In this practice, we used white prisma color pencils and white charcoal pencils to color in highlights rather than shading in the shadows. I prefer this style to using graphite pencil or dark charcoal to color in shadows.
Monday, February 1, 2016
Contour: Backpack
This was the very first big project we did in drawing class. One continuous line makes up the entire piece. I was lucky enough to have this fun backpack as my model! I'm proud of how this piece turned out since I hadn't done contour before, but next time I need to make sure to add in all the details where there is empty space.
Contour:Hand drawings, modified and bling
These are my practice contour hand drawings. I'm particularly fond of the second one. However, I need to make sure to make the proportions more accurate next time and make the line continuous and smooth.
Hand drawing
This was my first attempt at shading in drawing class. My proportions seem fair, however I need to make my lines stronger and the shading smoother in it's transitions. I also need to make sure I fully shade the palm.
Contour:Room draft
This was my attempt of a contour drawing of our art classroom. (I wasn't able to get much dine on it) I need to make sure to adjust the angles as I draw horizontally according to where I am sitting. I also need to make my lines smooth and clean. The proportions also need a bit of work for this to look better.
Contour:Final room contour drawing
1) For the most part my line is very fluid. There are a few points where dark little dots can be seen where I hesitated trying to figure out my next move but for the most part it is very smooth and not very sketchy.
2) My practice contour line room drawing and the back pack contour drawing helped me better understand how to pay attention to details and when to get to them.
3) An outline drawing just has basic shapes and no details whereas the room contour has details.
4) My interpretation of line is normally very sketchy. However for the contour drawing, we are supposed to use fluid lines so I worked to make my lines smooth.
6) I learned how to work in small areas at a time and to use my lines to create perspective. If I could recreate this piece I would fix the table on the left and make it look cohesive to the piece.
Subscribe to:
Comments (Atom)


